Rise Up! Building an Alert System for My Standing Desk using Data and Home Assistant
Integrating a microprocessor, Home Assistant, Grafana, InfluxDB, and Telegram for a smarter desk and a healthier workspace


We are all well aware of the health risks associated with prolonged sitting. It can lead to muscle deterioration, back problems, an increased risk of diabetes, and more (source). Yeah, it’s that bad. Yet, despite these harmful effects, many of us—including myself—spend extended periods sitting. We do it because we like it or because our work demands it, as in my case.
To combat these health risks, I got a standing desk. And I love this desk. It looks cool, and allows me to configure height presets that I switch between throughout the day. However, I must confess there are extended periods when the desk is at its lowest setting—mirroring my lack of movement. To address this issue (and also as a fun excuse to start a new project), I installed a microprocessor under my desk. This microprocessor monitors the desk height, and it is the entry point of a flow that ends up with a Telegram notification that reminds me to stand up if the desk's height is at what I've deemed the "sitting" preset for too long.
I equipped the attached microprocessor with a distance sensor to track its height over time and record it in Home Assistant, an open-source home automation platform that functions as a hub for smart home devices. The microprocessor I used is an ESP32 Thing Plus from SparkFun. This type of device includes a WiFi module, enabling the development of web servers. For this project, I set up a web server with an endpoint that returns the distance the sensor measures. In this case, this measurement is the distance from the desk to the floor— data I’m using to analyze my desk usage and to send alerts after a prolonged period of sitting. This article explains how I did it.
The setup
The centerpiece of this project is my standing desk. It’s a pretty normal standing desk with a controller for adjusting the height, and four buttons for setting specific height presets.
The SparkFun Thing Plus ESP32 microcontroller is another key component. Of all its features, the ones relevant to this project are the WiFI transceiver and SparkFun’s Qwiic Connect System, which allows you to connect sensors without the need for soldering. The sensor I’m using to measure the desk’s height is a SparkFun Distance Sensor - 1.3 Meter, VL53L4CD (Qwiic). It measures distance by emitting an infrared laser and timing the reflection from the target.
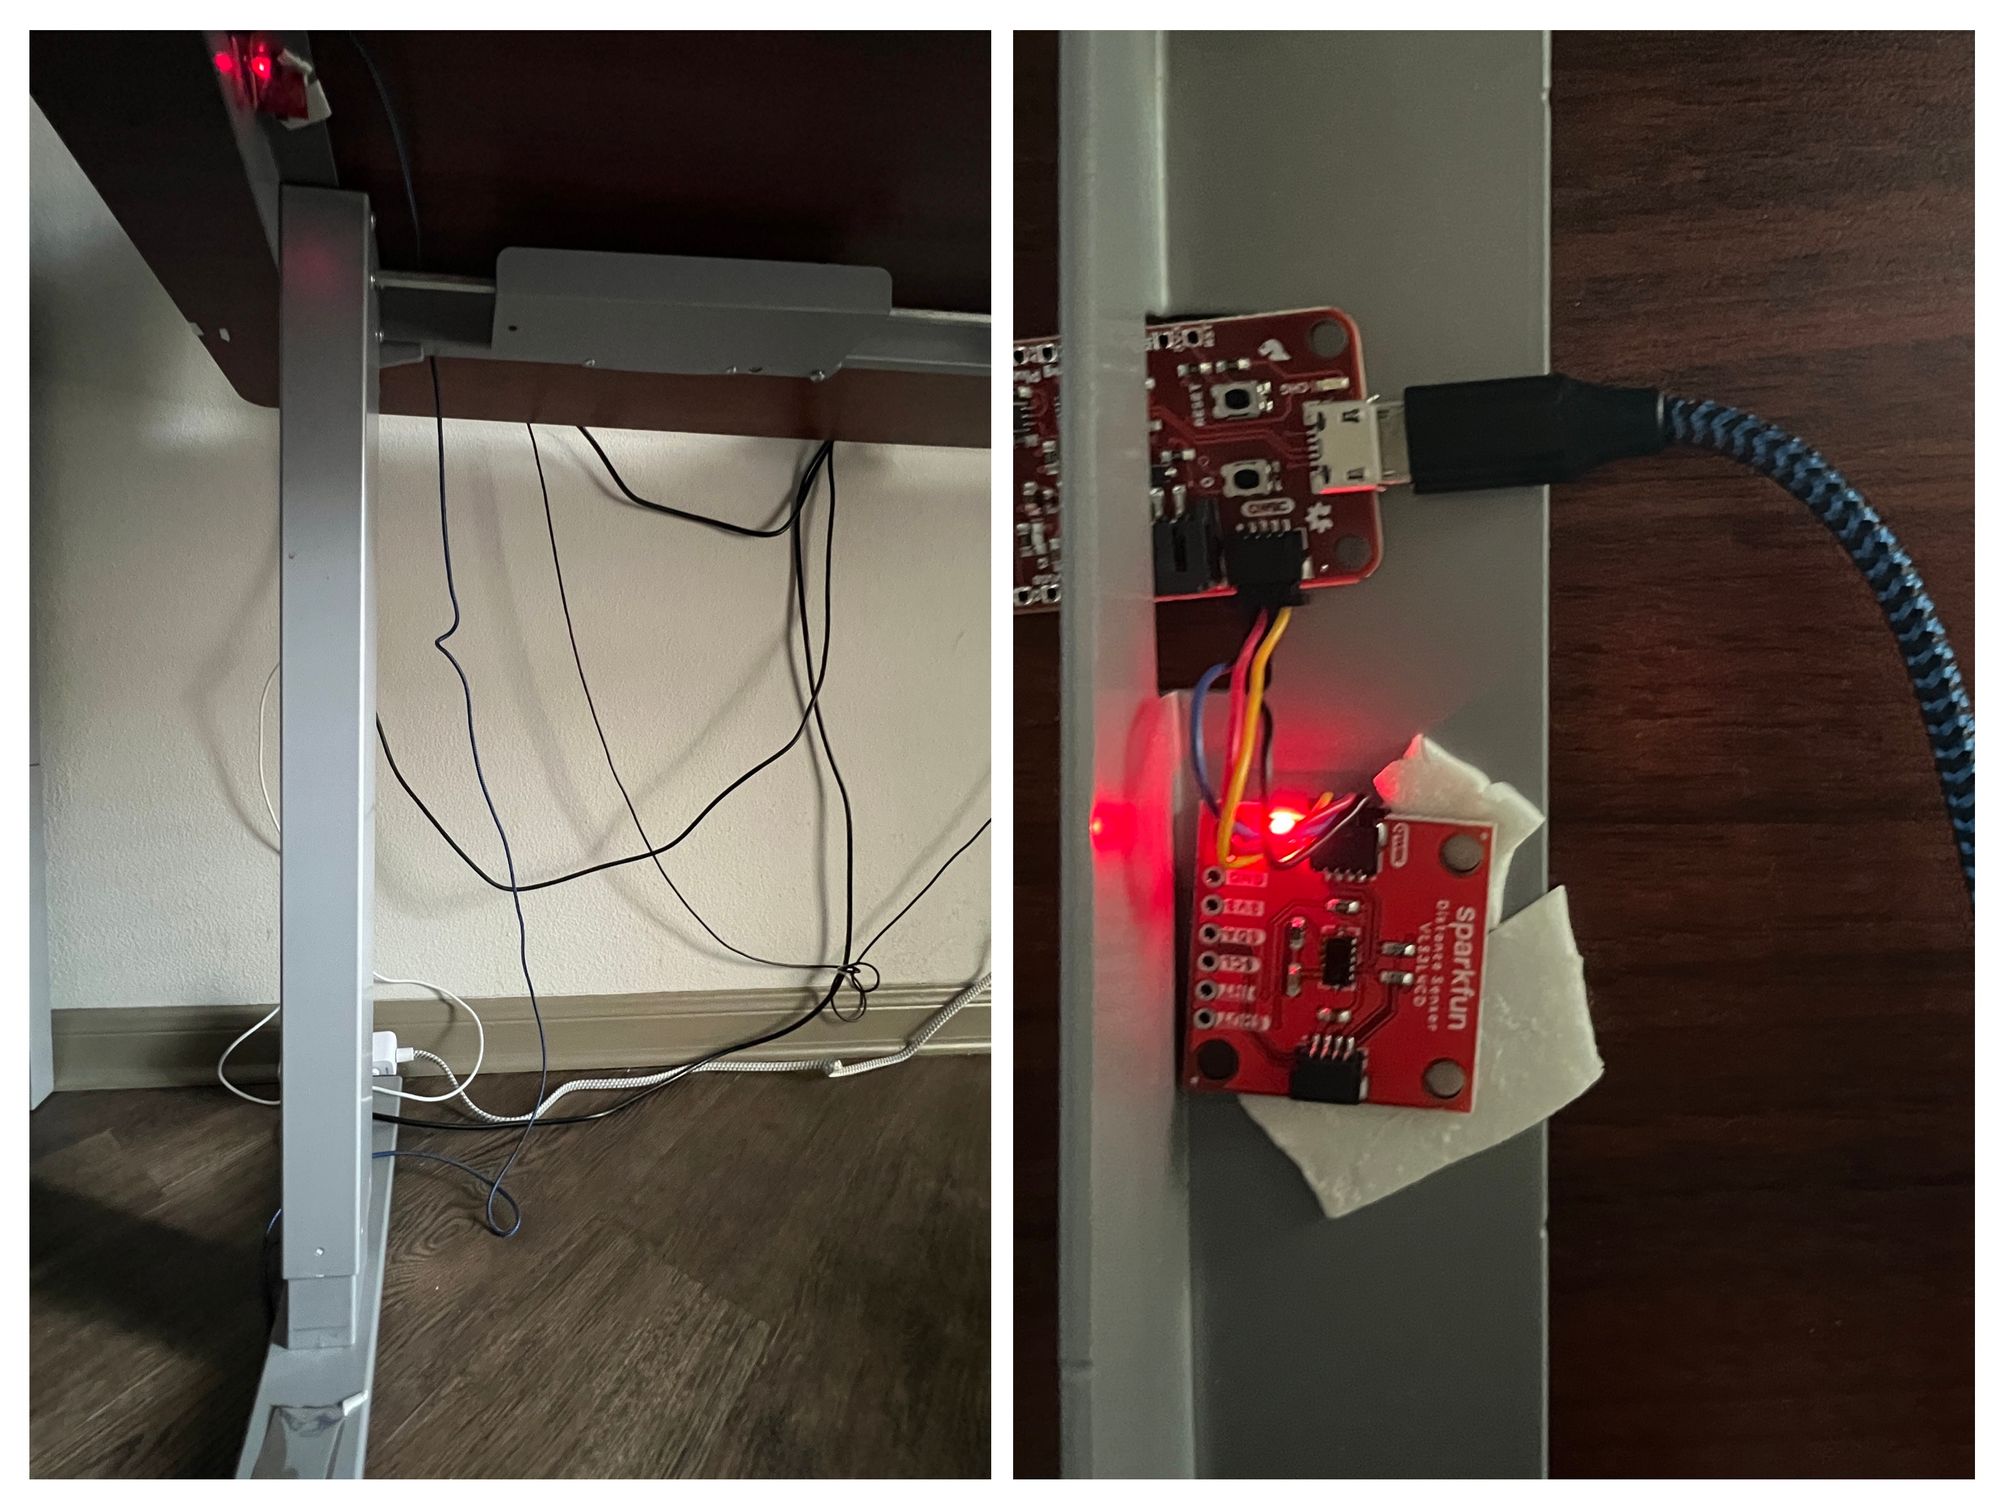
I've situated the microprocessor and sensor beneath the desk. Since neither my floor nor the desk legs are reflective, I've taped a small piece of foil to the desk leg under the sensor to facilitate the reflection of the sensor's laser. Therefore, I'm technically measuring the distance between the desk and its base, which is approximately 5 cm above the floor.
I’m storing the sensor’s data in my Home Assistant installation. Home Assistant is a complex system with many functions and features. For the purposes of this project, we need to know that I have it installed on a Raspberry Pi, which is connected to my home network, that it can raise alerts and send them to different platforms, and that it can host InfluxDB (a time series database designed to handle high volumes of time-stamped data), and Grafana (a data visualization and monitoring tool).
You can learn more about Home Assistant here.
The microprocessor program
The desk might be the centerpiece of this project, but the microprocessor program is undoubtedly the brain. This program, which I've written to track the desk’s height, sets up a web server on the ESP32 board to serve via an endpoint the distance measurements taken by the SparkFun VL53L1X distance sensor.
Here's the code:
#include <WiFi.h>
#include <WebServer.h>
#include <Wire.h>
#include "SparkFun_VL53L1X.h"

// Replace this with the WiFi's SSID
const char* ssid     = "SSID";
// Replace this with the WiFi password
const char* password = "PASSWORD";

// Listening on port 80
WebServer server(80);

#define SHUTDOWN_PIN 2
#define INTERRUPT_PIN 3

SFEVL53L1X distanceSensor(Wire, SHUTDOWN_PIN, INTERRUPT_PIN);

void setup() {
  Serial.begin(115200);
  // Connect to WiFi
  WiFi.begin(ssid, password);

  while (WiFi.status() != WL_CONNECTED) {
    delay(1000);
    Serial.println("Connecting to WiFi...");
  }

  Serial.println("Connected to WiFi");

  // Set the distance sensor
  Wire.begin();
  if (distanceSensor.init() == false) {
    Serial.println("Distance sensor is online.");
  }

  server.on("/distance", [](){
    // Measure the distance
    distanceSensor.startRanging();
    int distance = distanceSensor.getDistance(); // Distance is in mm.
    distanceSensor.stopRanging();
    server.send(200, "text/plain", String(distance));
  });

  // GET /ping is just a health check
  server.on("/ping", [](){
    server.send(200, "text/plain", "ok");
  });

  server.begin();
  Serial.println("HTTP server started");
}

void loop() {
  server.handleClient();
}
I’m starting the code by importing the necessary libraries, which include the WiFi module and the distance sensor library. After the libraries, we define two constants with the WiFi’s SSID and password. Next, we create the web server, specify its port, and initialize the sensor. Then comes the setup() function, where the main logic lies. The first half of this function is to initiate the WiFi connection and the distance sensor. Once both are ready, it proceeds to set up the two routes for the web server.
The first route, GET /distance, retrieves the sensor’s distance measurement and returns it as plain text (e.g., 695).
The second route, GET /ping, is a health check to ensure the program is running. Although the first endpoint could also serve this purpose, I created a distinct endpoint specifically for health checks.
Now, we need to upload the program into the Arduino. I won’t delve into how to do this here, but you can refer to this guide if you need assistance https://support.arduino.cc/hc/en-us/articles/4733418441116-Upload-a-sketch-in-Arduino-IDE.
Once the program is running, you can test it using a cURL command like curl -X GET http://192.168.1.XXX/distance, as long as the device executing the command is on the same network as the microprocessor. Please note that you'll need to replace the XXX with the actual IP of the microprocessor. A way to find the IP is by looking at the list of connected devices to your network on your router control panel.
Consuming the endpoint from Home Assistant
The next step involves integrating the /distance endpoint with Home Assistant using a sensor component. For simplicity, I’ll assume that you have Home Assistant installed and are familiar with its basics.
A sensor component monitors the state and conditions of entities, which can be a physical sensor or an endpoint like the one we have created. To set this up, you’ll need to access Home Assistant’s configuration file, configuration.yaml, either through the File Editor or the console. Once you’re in the file, look for an existing sensor key in the YAML file or create one if it’s not already there. Under this key, add the following:
sensor:
  - platform: rest
      name: Desk Distance
      unique_id: desk_distance
      unit_of_measurement: "mm"
      resource: http://192.168.1.XXX/distance
This configuration sets up a RESTful platform—one that consumes a REST endpoint— within a sensor component. It has four values:
name: A descriptive name for the endpoint.unique_id: A unique identifier for the sensor.unit_of_measurement: The sensor’s unit of measurement. In our case, it’s “mm” as the distance sensor measures in millimeters.resource: The URL of the endpoint to consume.
There’s also an optional field named method for specifying the HTTP method of the request. I’m not using it because it defaults to GET, which is the method of our endpoint.
Now save the file and reload it to apply the changes. To ensure it works correctly, consider creating a new module in your dashboard to display the value the sensor reads. Alternatively, you can locate the entity in the “states” tab of the Developer Tools.

The following section explains how you can use InfluxDB and Grafana to visualize the data.
Visualize the data using Grafana and InfluxDB
Prior to starting this project, I envisioned displaying the desk’s literal ups and down with a visualization tool. And luckily for the Home Assistant community and me, a member of such created an add-on that seamlessly let you integrate InfluxDB and Grafana into the platform. InfluxDB is a high-performance, open-source time-series database that efficiently stores and manages large amounts of time-stamped data, making it perfect for tracking the desk's altitude over time. Grafana is an open-source data visualization and monitoring platform that allows users to create interactive, customizable dashboards. Combining InfluxDB and Grafana allows for real-time data collection, storage, and visualization of the desk's movements, providing a seamless experience in tracking it. For instructions on how to install them, please refer to their respective documentation at InfluxDB and Grafana.
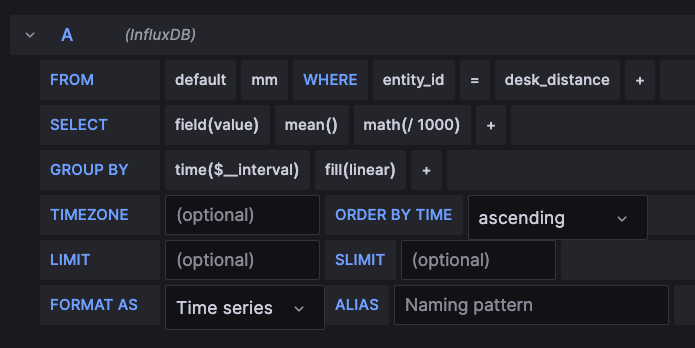
After installation and setup (which includes adding InfluxDB as a data source in Grafana), navigate to Grafana’s dashboard to create a new dashboard and panel; this panel is where we’ll visualize the desk’s height. At the bottom of the page is the query area, where we’ll define the query that gets the data from InfluxDB. Begin by selecting “InfluxDB” from the “Data source” menu. Then, fill up the blanks like this:
FROM: Select the name of the InfluxDB data source (mine isdefault). In the field next to it, select “mm” — this is the name of the table storing data from sensors whose unit of measurement is millimeters.WHERE: Use this clause to only filter for the entitydesk_distance.SELECTSelectvaluefrom the menu. I also applied themean()aggregation and the mathematical formulamath(/1000)to transform the Y-axis scale to meters.GROUP_BY: Usetime($_interval)to group the data by$_interval, where$_intervalis a time interval calculated by Grafana (see the explanation here) andfill(linear)fills any missing data points within the specified time range using linear interpolation. I’m using this to avoid seeing gaps in my visualization.
After configuring these parameters, you'll get a chart similar to this:

This chart represents two days of data. The y-axis displays the desk’s height in mm., while the x-axis shows the time. You can clearly see the two presets I use most frequently: the sitting preset, with a height of around 700 mm, and the standing preset, which elevates the desk to nearly a meter high."
Sending alerts to Telegram
The ultimate goal of this project was to develop a notification system reminding me to stand after extended periods of sitting. By using the data collected from the distance sensor, Home Assistant’s alert integration can send these reminders whenever an event happens. These notifications are sent through another integration, notify, which supports a variety of platforms, including Twilio, email, and Telegram—which I'll use for this project.
Setting up an alert from Home Assistant to Telegram involves two key steps: creating a Telegram bot to receive the alert and defining the alert in Home Assistant.
Creating the bot
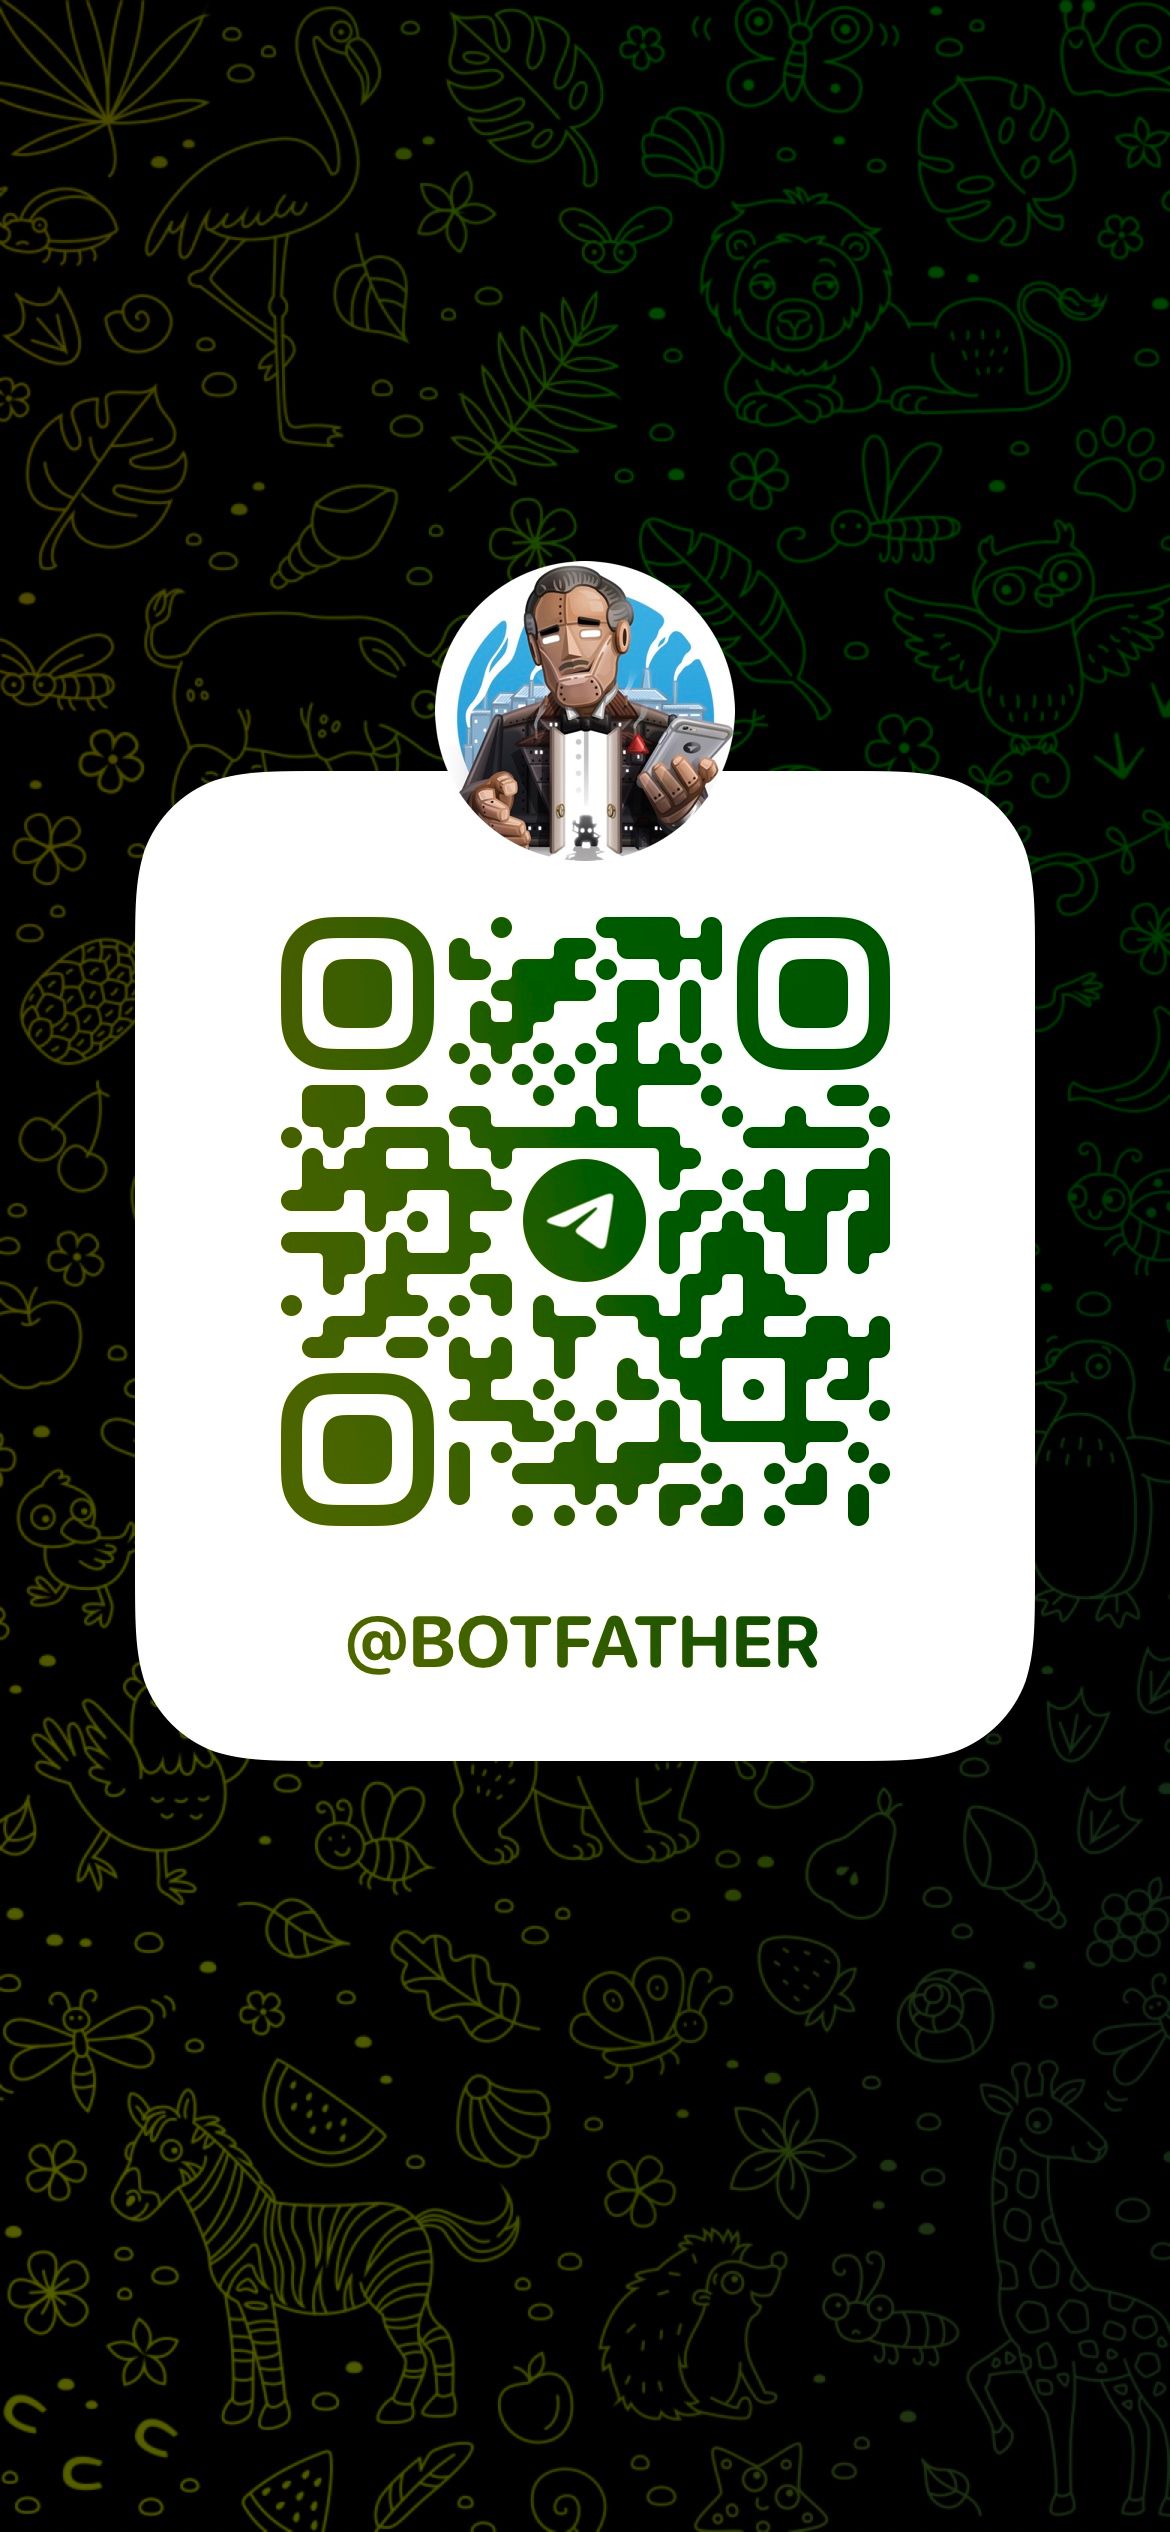
I used an existing Telegram bot called BotFather to create my alert bot.
To get started, initiate a chat with BotFather by searching for it in a new chat window. Once you’ve started the conversation, follow the on-screen instructions, which are mostly questions about your new bot, such as its name. BotFather will then provide you with an API token to control your recently created bot and a link to initiate a Telegram conversation with it.
Next, you’ll need the chat ID from your conversation with your bot. I obtained this ID using a curl request $ curl -X GET https://api.telegram.org/bot<YOUR_API_TOKEN>/getUpdates (before doing this, you need to message the bot) where YOUR_API_TOKEN is the API key you got from BotFather. The API response is a JSON with a chat object and a field named id containing the chat ID.
You can also get the ID using another bot called GetIDs which provides information about chats and messages. However, I didn’t try this method.
Defining the alert
The final step involves defining the alert in Home Assistant. Open the configuration.yaml file and configure the bot as follows:
telegram_bot:
  - platform: polling
    api_key: YOUR_API_KEY
    allowed_chat_ids:
      - CHAT_ID_1 # your chat_id
      - CHAT_ID_2 # Optional. You can also add another chat!
Next, create the notifier to send notifications via the bot you've just configured:
notify:
  - platform: telegram
    name: NOTIFICATION_NAME
    chat_id: chat_id
  - platform: telegram # Optional. Add another telegram platform if you wish to notify another chat.
    name: NOTIFICATION_NAME_2
    chat_id: chat_id_2
Finally, define the alert itself under the automation key (create it if you don’t have it):
automation:
- alias: "Desk Distance Alert 45 minutes"
trigger:
platform: numeric_state
entity_id: sensor.desk_distance
below: 900
for:
minutes: 45
action:
service: notify.HA_NOTIFICATIONS
data:
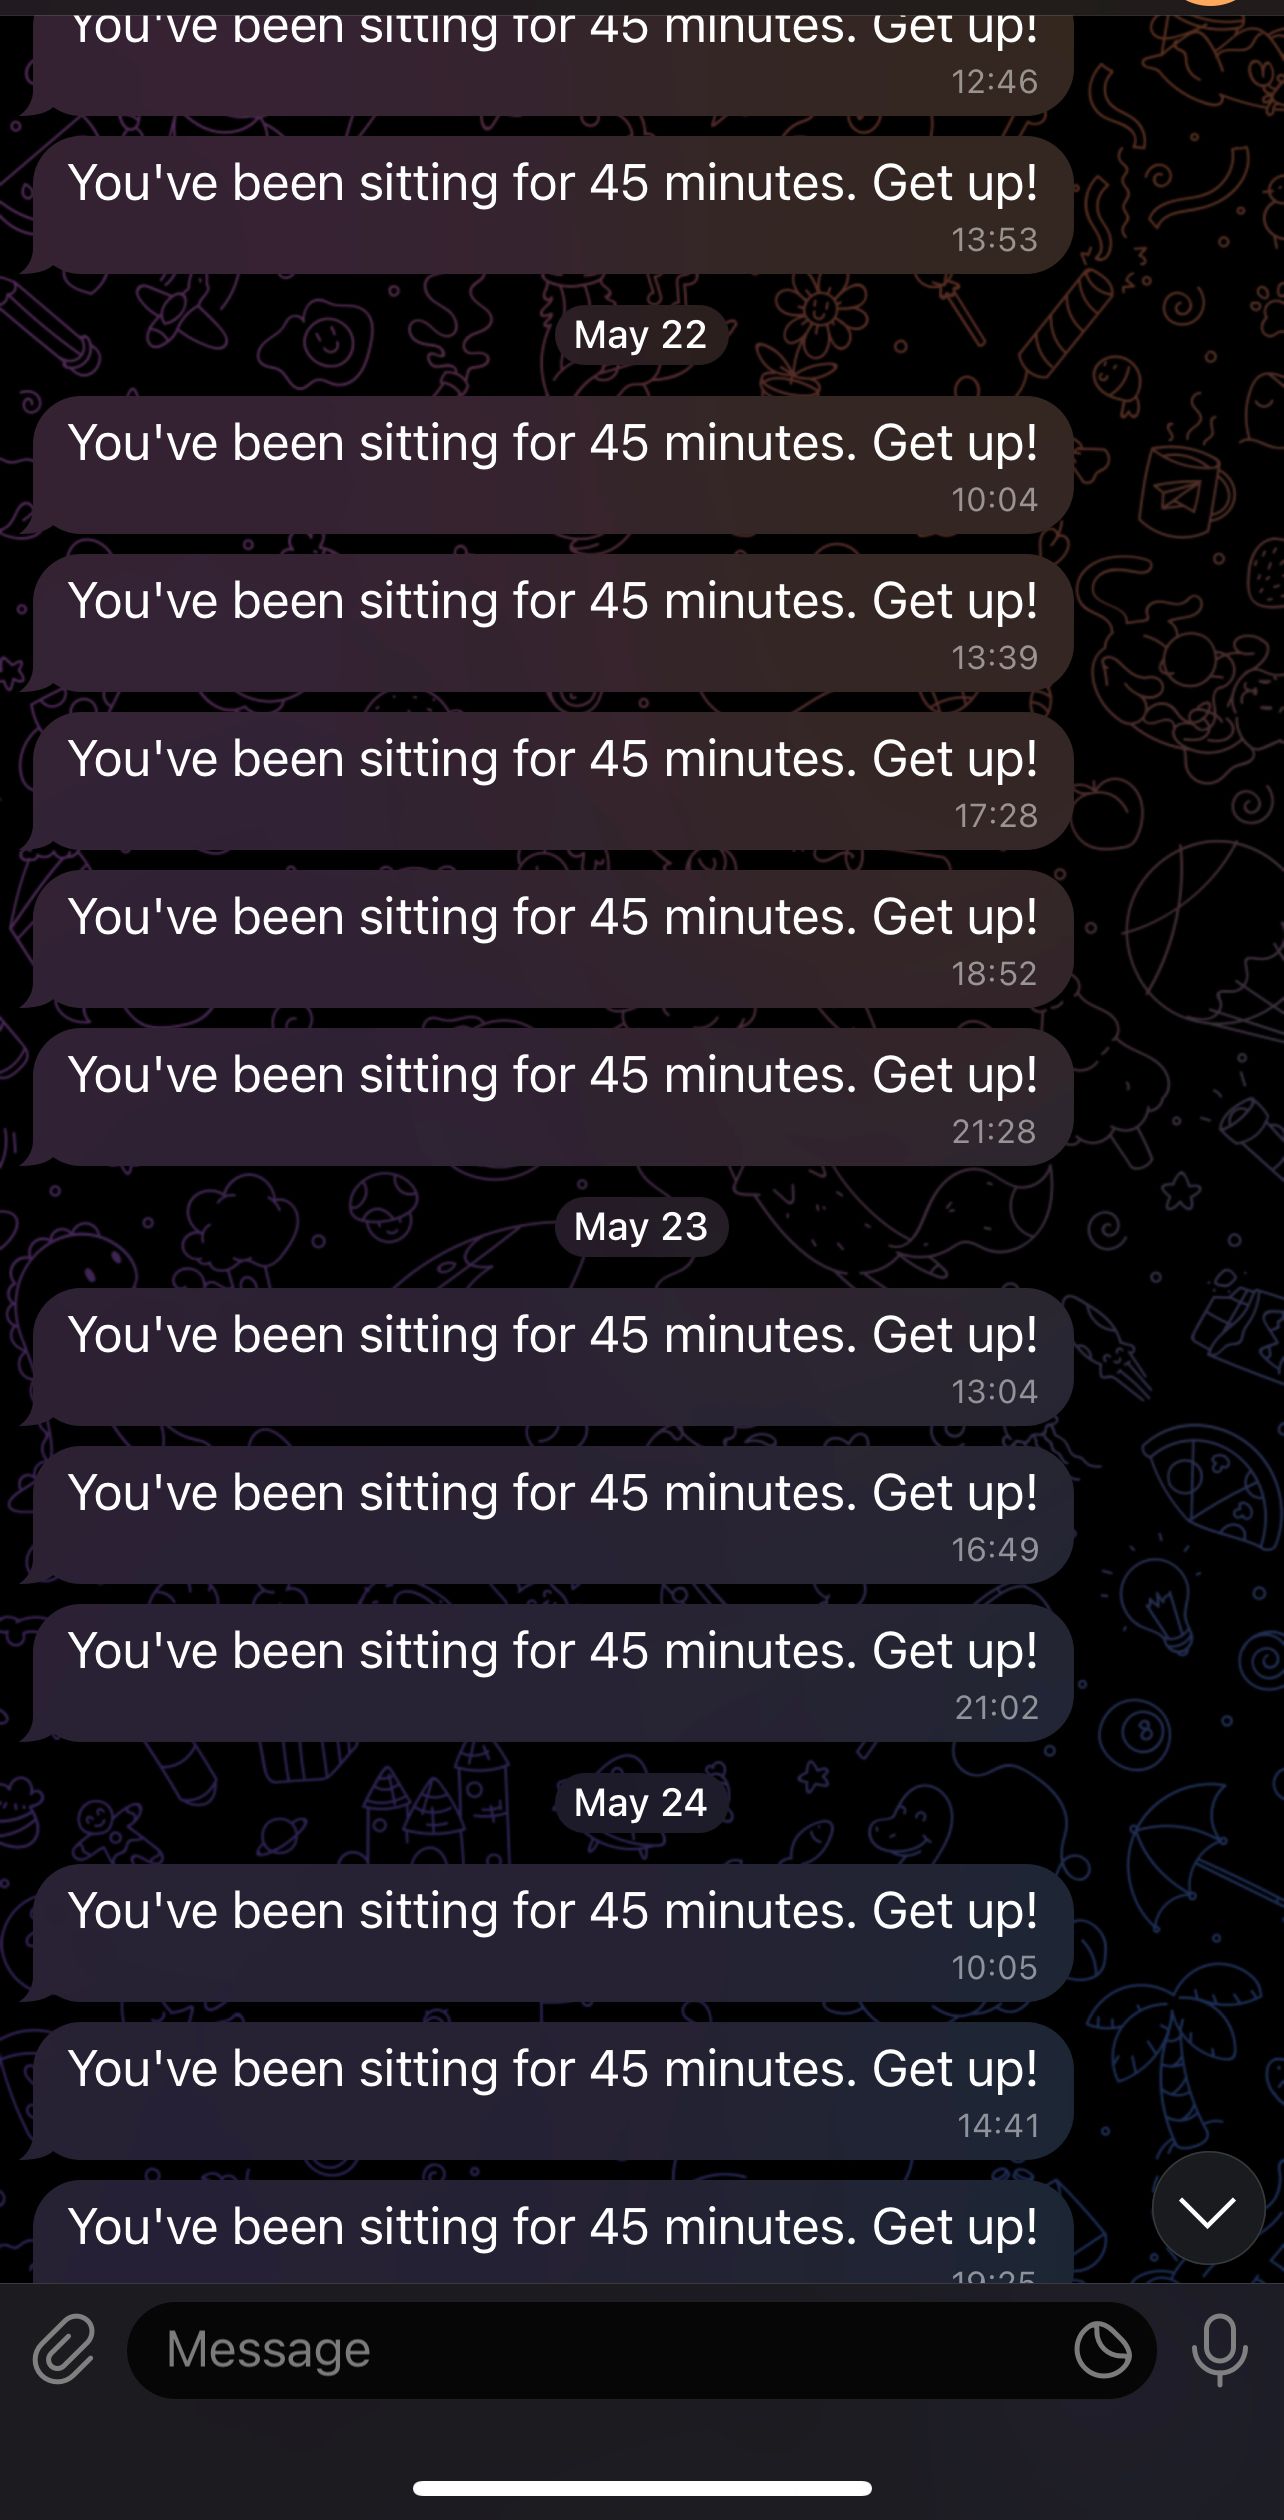
message: "You've been sitting for 45 minutes. Get up!"
My alert name is Desk Distance Alert 45 minutes, and as the name points out, it sends a notification when my desk has been lowered for more than 45 minutes.
I defined the “45 minutes” condition in trigger. Here, we need a numeric_state automation that fires an action when an entity’s state meets a condition. My condition triggers when the desk height is below 900mm for 45 minutes You're free to customize this for your needs. Also, note that entity_id is the word sensor followed by the id you used to name your sensor, e.g., sensor.desk_distance. My trigger is accompanied by an action that executes when the trigger fires up. This action uses the NOTIFICATION_NAME notify service we created earlier to notify through it.
I also added a message with an encouraging name that will hopefully motivate me to get up.
To test the process, create a temporary alert that triggers in one minute, or navigate to the automation dashboard at https://your_ha_location/config/automation/dashboard. If the alert appears in the list, click the three-dot symbol on the right and manually select “Run” to trigger it. If all goes well, you should receive a notification from Telegram."
Conclusion
As someone who spends a large chunk of my day sitting behind a desk, I found it crucial to address the negative impact this can have on my health. Recognizing this, I was driven to find a solution—a way to remind myself to take the necessary breaks, move, and stand.
By integrating an ESP32 microprocessor, a SparkFun VL53L1X distance sensor, Home Assistant, Grafana, InfluxDB, and Telegram, I've crafted a system that tracks my desk's height in real-time, visualizes that data, and sends me a nudge when I've been sitting for too long.
But this project isn't just about my standing desk; it's about using tech tools (and sensors I’ve had in a box for a long time) to make small changes that improve our daily habits. Whether you're buried in work or lost in your own projects, it's essential not to overlook your health (note to self, of course). Thankfully, with the right tools and a bit of data, we can build systems that not only assist in our productivity but also contribute to our well-being.