How to capture sensor data in an Arduino and read it in Python using PySerial
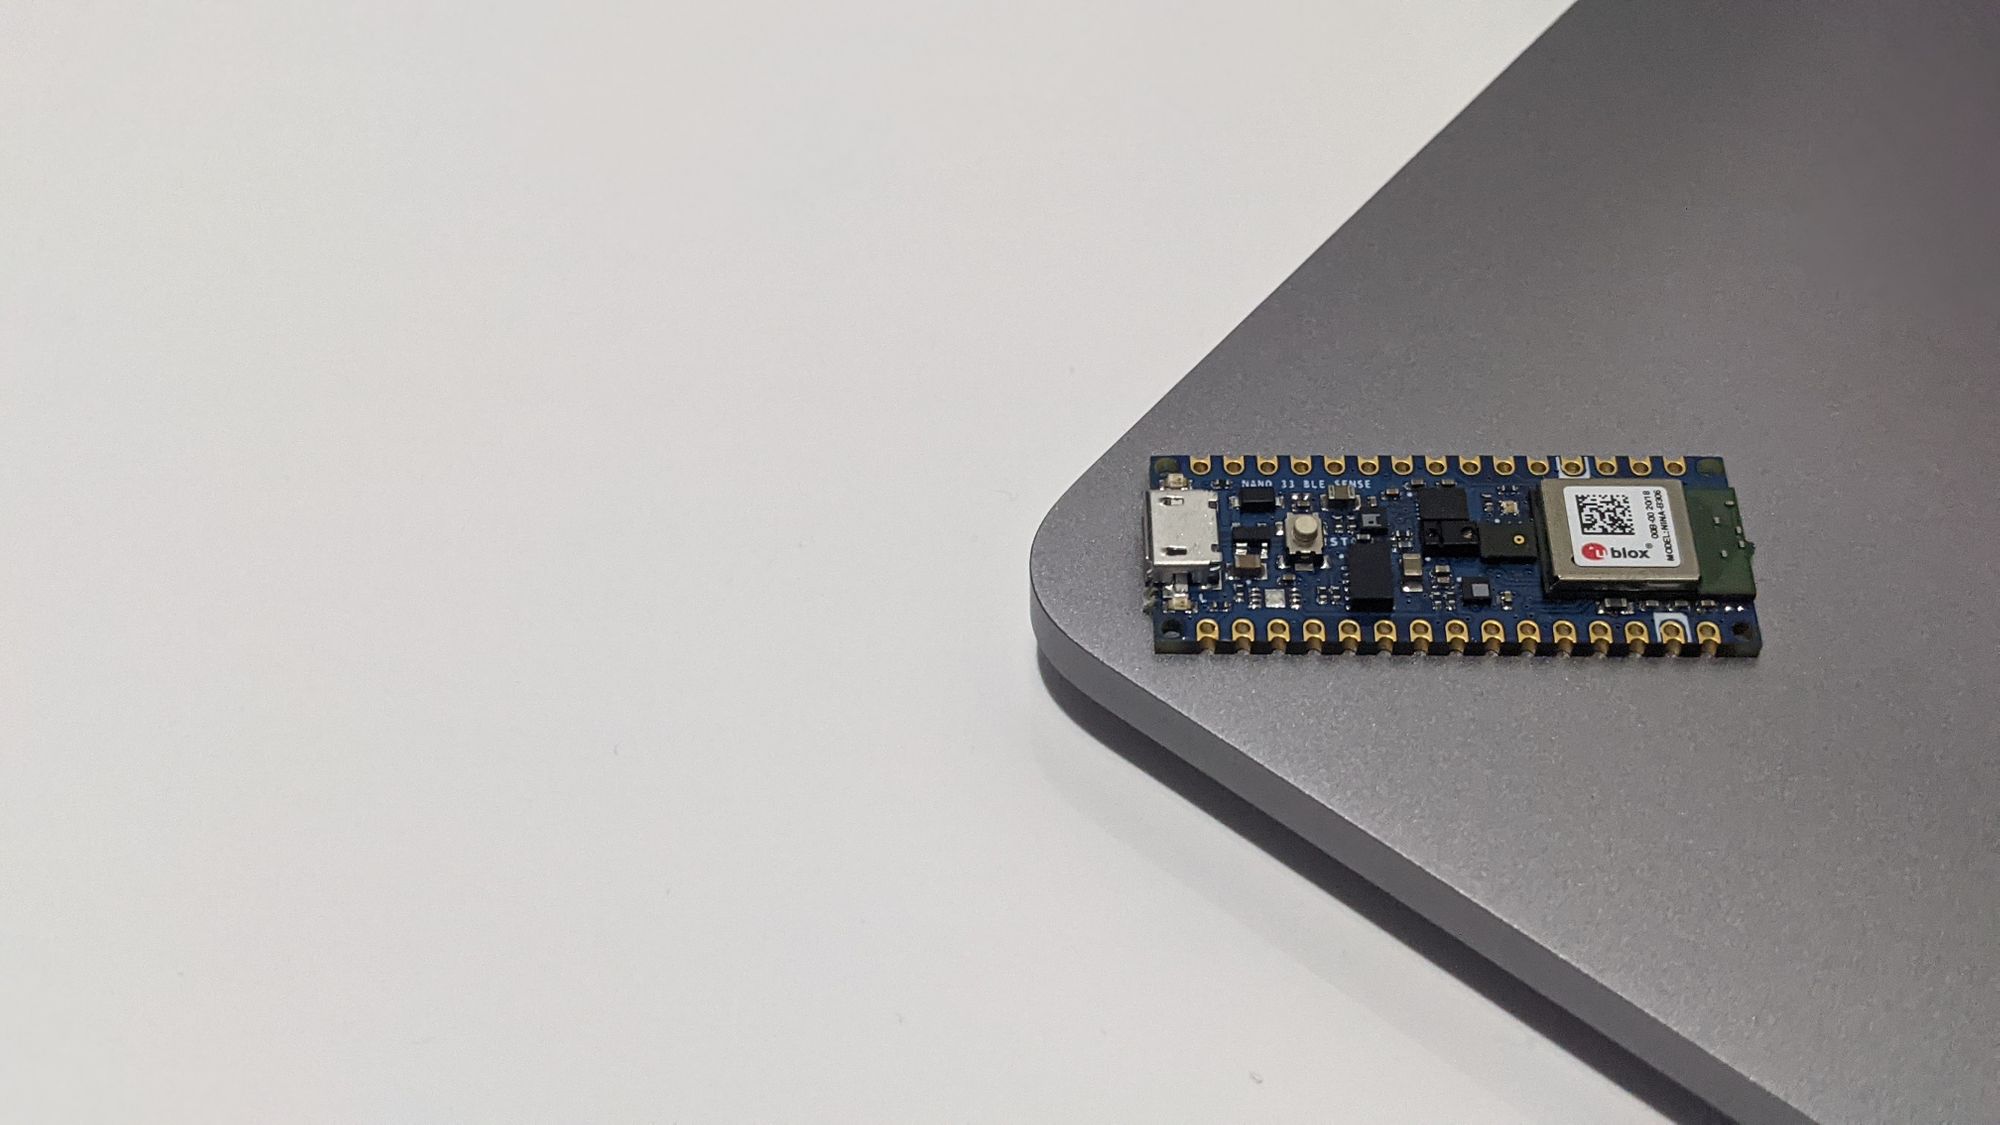
Getting sensor data out of an Arduino Nano 33 BLE.
Sensors perceive. They see, listen, and smell things that we, humans, cannot (or shouldn't) see, listen, or smell. Sensors digitalize. Through seeing, listening, and smelling, they quantify and digitalize our surroundings—they create data. A sensor-equipped Arduino is an example of such a device. These devices "sense" their surroundings and explain them with data. And maybe you have wondered how you can extract this data.
This article explains how to capture multiple sensor data from an Arduino and read it using Python and the library PySerial. The Arduino I'll use is the NANO 33 BLE, a microprocessor equipped with over five sensors that, among several things, measure temperature, ambient pressure, and humidity. In the first part of the article, I'll describe how you can write an Arduino program that captures data from its sensors; in the second part, I'll describe how you can write a Python script that reads the Arduino's data and writes it to a CSV file.
Step 1—Writing the Arduino's sketch to capture the sensor data
In this section, we'll write the Arduino's sketch (the formal term for an Arduino program) that captures the sensor data. Let's go through it together.
#include <Arduino_HTS221.h> // Temperature sensor
#include <Arduino_LPS22HB.h> // Air pressure sensor
#include <Arduino_APDS9960.h> // Color, light, and proximity sensor
#include <Arduino_LSM9DS1.h> // Accelerometer

void setup() {
  Serial.begin(9600);
  while (!Serial);

  if (!HTS.begin()){
    Serial.println("Failed to start the HTS221 sensor.");
    while(1);
  }

  if (!BARO.begin()) {
    Serial.println("Failed to start the LPS22HB sensor.");
    while (1);
  }

  if (!APDS.begin()) {
    Serial.println("Failed to start the APDS9960 sensor.");
    while (1);
  }

  if (!IMU.begin()) {
    Serial.println("Failed to start the LSM9DS sensor.");
    while (1);
  }

}

void loop() {
  // Read the temperature and humidity values
  float temp = HTS.readTemperature(); // In C
  float humidity = HTS.readHumidity(); // In %
  float pressure = BARO.readPressure(); // In kPa

  int r, g, b, a;
  APDS.readColor(r, g, b, a);

  float x, y, z;
  IMU.readAcceleration(x, y, z);

  while (!APDS.colorAvailable() || !APDS.proximityAvailable())
  {
  }

  Serial.print(temp);
  Serial.print(',');
  Serial.print(humidity);
  Serial.print(',');
  Serial.print(pressure);
  Serial.print(',');
  Serial.print(r);
  Serial.print(',');
  Serial.print(b);
  Serial.print(',');
  Serial.print(g);
  Serial.print(',');
  Serial.print(a);
  Serial.print(',');
  Serial.print(x);
  Serial.print(',');
  Serial.print(y);
  Serial.print(',');
  Serial.print(z);
  // Use Serial.println(); to add a linebreak


  // 10 mins
  delay(600000);
}
Our (C++) code starts with the include statements that load the sensors' libraries. These are:
- HTS221: The temperature sensor
- LPS22HB: The pressure sensor
- APDS9960: The sensor that reads the color, light, and proximity.
- LSM9DS1: The accelerometer sensor.
After loading the libraries, we have the setup() function, a function called just once when the sketch starts. Here, we'll define the serial port where we want to write the output and initialize the four sensors. The while statements are for iterating infinitely until the serial port and sensors are available.
The following function is loop(), the sketch's the main routine and where we will capture the sensors data—the function runs forever unless you end it or an error occurs. In its first three lines, we are reading the temperature, humidity, and pressure values and assigning them to three variables. Next, we will read the APDS sensor colors red, blue, green, and ambient light intensity. (I should mention that the red, blue, and green colors are not the standard RGB color tuple whose values range from 0 to 255. Instead, their values are analogous to the intensity of red, blue, and green present.). To read the color data (using APDS.readColor()), we will send as arguments the previous four variables to pass the read values to them. Similarly, we will read the accelerometer data using the same approach we did with the color. And with that, we've got the data.
The second half of the function concerns writing the captured values to a serial port to read them later from Python. After IMU.readAcceleration(), a while statement waits until there's color or proximity available on the APDS sensor. Once either is available, the program will leave the loop and print the values as a comma-separated (CSV) line, e.g., "1,2,3,4,5." Last, we'll add a delay() function to pause the program for the time (in milliseconds) specified in the argument (feel free to change to suits your needs).
Next, we will upload the sketch to the Arduino board using Arduino IDE, which you can obtain from: https://www.arduino.cc/en/software. You can find an installation guide at https://www.arduino.cc/en/Guide.
Once installed and opened, we need to install the Arduino board and the sensors libraries. To install the board library, go to Tools -> Board -> Boards Manager and search for "Nano BLE." To install the sensor libraries, go to Tools -> Manage Libraries and search for "HTS221," "LPS22HB," "APDS9960," and "LSM9DS1." Now, please connect the Arduino to the computer. Then click the "arrow" button to upload the sketch to the Arduino. To ensure it is running, go to Tools -> Serial Monitor to see its output (Figure 1). You will notice the lack of line breaks. That's fine. We won't need it once we read the data from Python, which we will do in the next step.

Step 2—Reading Arduino's data in Python using PySerial
In Step 1, we wrote an Arduino's sketch that captures sensor data from multiple sources and prints them to a serial port. In Step 2, we will write a Python script that uses the library PySerial to read said data line by line as the Arduino prints it to the serial port; to install PySerial, execute $ pip install pyserial from your Terminal. While reading the data, we will convert the values to a list and add the current local timestamp to it before appending the list to a CSV file. Below is the complete script.
import csv
from time import time

import serial

# Your serial port might be different!
ser = serial.Serial('/dev/cu.usbmodem141301', timeout=1)

f = open("df.csv", "a+")
writer = csv.writer(f, delimiter=',')

while True:
    s = ser.readline().decode()
    if s != "":
        rows = [float(x) for x in s.split(',')]
        # Insert local time to list's first position
        rows.insert(0, int(time()))
        print(rows)
        writer.writerow(rows)
        f.flush()
We'll start the script by importing the libraries we will use. These are:
csv: to write the data to a CSV file.time: to get the current local time.serial(PySerial): to read the Arduino's data.
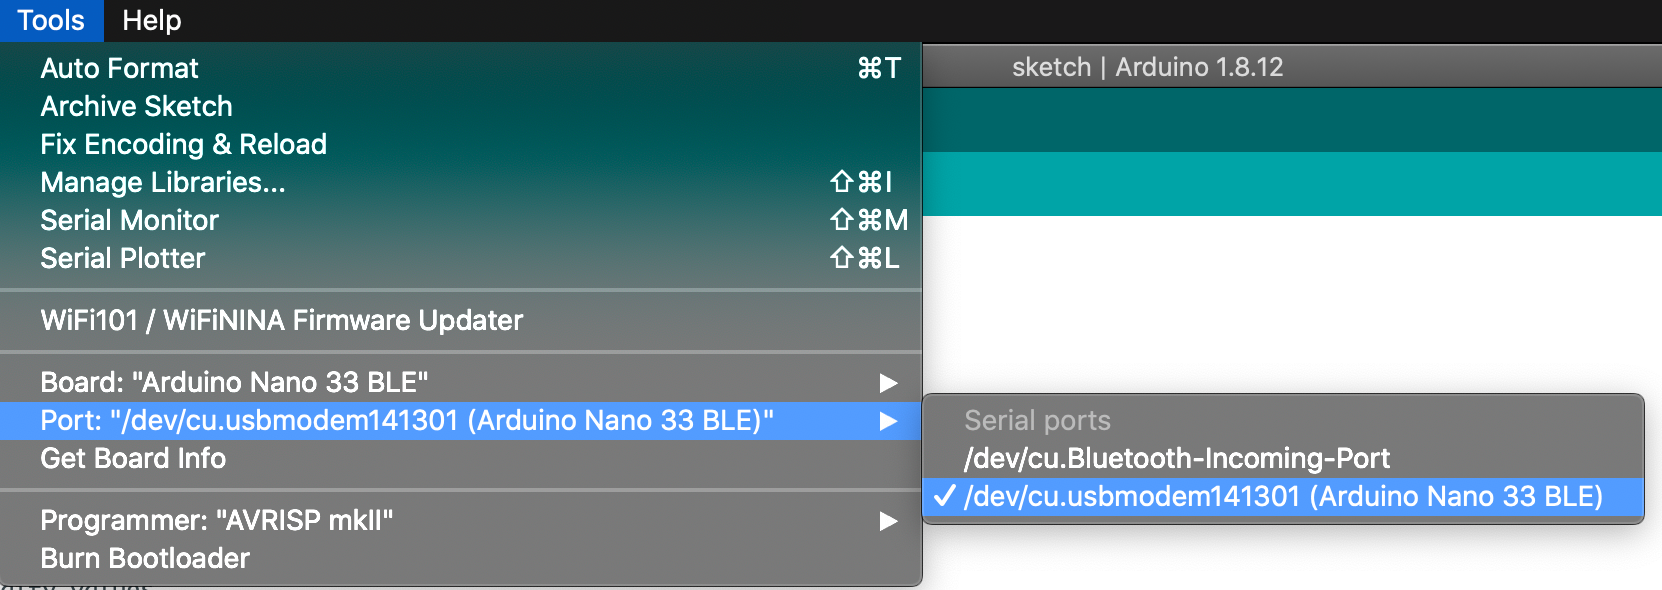
Next, we need to declare our Serial object for reading data from the port specified in the argument. In this example, I'm reading from the port /dev/cu.usbmodem141301, but it might vary depending on your setup. To find the correct port, I like using the "Ports" view from Arduino IDE, which you can access from Tools -> Port (Figure 2). Here you will see two serial ports: a Bluetooth and a physical port. You want the non-Bluetooth port. Write its path in the first argument of the Serial object. The second argument, timeout, controls the time (in seconds) the function waits until the requested number of bytes arrive (we'll add on this later). If the requested number of bytes doesn't arrive before timeout, the function "returns all bytes that were received until then" (PySerial's Serial class documentation).
Because our script writes the Arduino's data to a CSV file, we need a csv.writer object to append the data to the file. The writer has two arguments, f, the target file and the delimiter "," to specify which character separates the fields.
Now we write the data. To run our script indefinitely, we will use a while True loop that reads the latest line sent to the serial port—note that we have to decode the data because it comes as bytes. (Speaking of bytes, readline() has a parameter size s used to specify how many bytes, at most, the function will read; we will use the parameter's default value of -1 to read everything). Each time we read a line, we will check if it is empty. If it is, we iterate again. But if it isn't—and that's the exciting part—we'll preprocess the data before adding it to the file.
We will not write the data as it comes from the serial port. Instead, we will preprocess it and extend it with the local time to have a richer dataset. Inside the if statement, we will use a list comprehension to create a new list by splitting the string, using as a separator the character "," (because that's how we are printing the data on the Arduino), and converting the values from strings to floats. To this list, we will insert at its first location the current local timestamp (in seconds). Then, we will print it, write it to the CSV, and flush the file afterward. And with that, we are done!
To run the script, execute the command $ python main.py. If you get an error like,
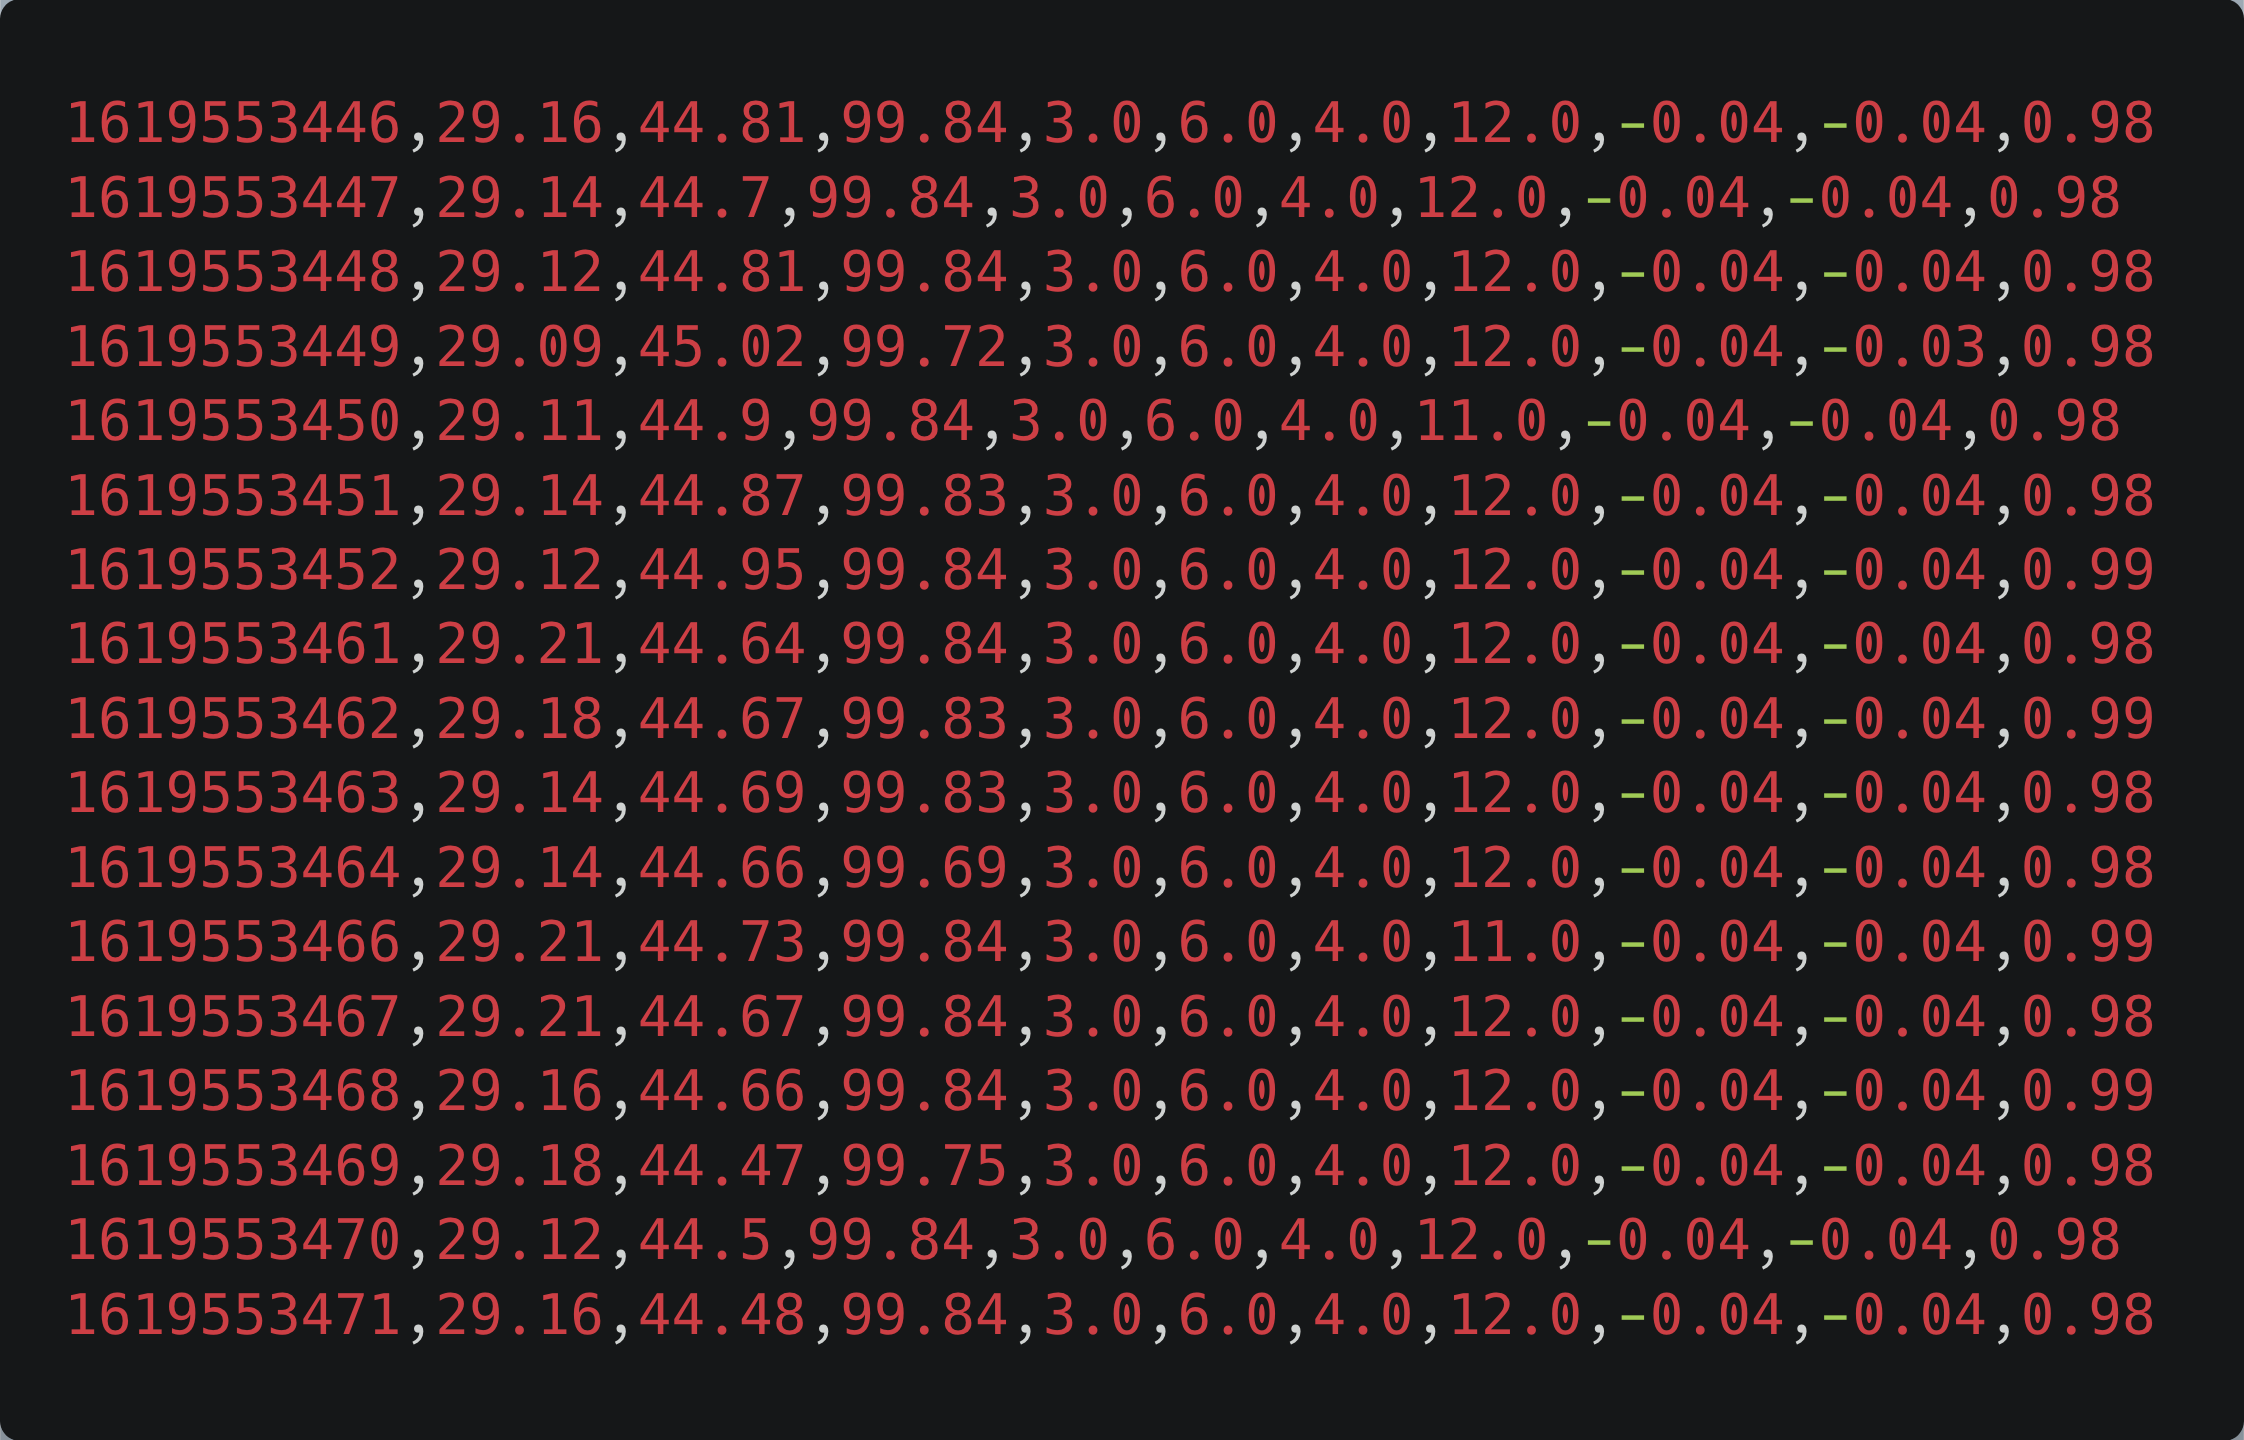
FileNotFoundError: [Errno 2] No such file or directory: '/dev/cu.usbmodem141301'it means the defined serial port is wrong or unavailable. Once again, I suggest using Arduino IDE to find the correct port. Another alternative is listing the ports, as explained at: https://www.mathworks.com/help/supportpkg/arduinoio/ug/find-arduino-port-on-windows-mac-and-linux.html. After running the script for a few minutes, go back to the CSV file to find the data. Figure 3 below shows a sample of mine.
Recap and conclusion
At a steady rhythm, we, humans, are granting technology the ability to perceive. Will it reach a humanlike level? I don't know. But judging by the accuracy and use cases of Perception-based AI (as discussed by Dr. Lee in his book AI Superpowers), such as object detectors, we can surely tell it will make us doubt whether we, humans, are superior in certain tasks.
In this article, we did not build such AI. Instead, we gathered the data we would need in case we want to build one. To gather the data, we wrote and deployed an Arduino sketch in a NANO 33 BLE device, one that's equipped with sensors that capture temperature, pressure, humidity, luminosity, and acceleration data. To export the data, we wrote a Python script that reads it from the Arduino and writes it to a CSV file.
What will you build with it? How will you use this new dataset? Since this Arduino supports TensorFlow Lite for Microcontrollers, a TensorFlow C++ library for executing TensorFlow models on microcontrollers, I plan to build a model with the data and deploy it on the device. What will the model do? I haven't thought so far. But whatever the task is, I'm sure it'll do it better than I could.
You can find the sketch code at https://github.com/juandes/arduino-content/blob/main/sketches/get_sensor_data/sketch/sketch.ino and the Python script at https://github.com/juandes/arduino-content/blob/main/python/pyserial/main.py.